Contact Us

Use the form on the right to contact us.

You can edit the text in this area, and change where the contact form on the right submits to, by entering edit mode using the modes on the bottom right. 


123 Street Avenue, City Town, 99999

(123) 555-6789

email@address.com


You can set your address, phone number, email and site description in the settings tab.
Link to read me page with more information.

Blog

Praesent commodo cursus magna, vel scelerisque nisl consectetur et. Curabitur blandit tempus porttitor. Fusce dapibus, tellus ac cursus commodo, tortor mauris condimentum nibh, ut fermentum massa justo sit amet risus. Cras mattis consectetur purus sit amet fermentum. Cras mattis consectetur purus sit amet fermentum.


Can Isometric Training Improve Rowing Technique?

John Thornell

by John Thornell, Grok Rowing Founder, Stonington Crew Girls Head Coach

IMG_2980 (1).jpeg

Using an isometric exercise, I have seen novice rowers search for and find the muscles needed to "hang" on the erg handle. Light bulbs went off as their brains and bodies made the necessary connection. Similarly, experienced rowers have fine-tuned their technique to suspend their bodyweight off the handle effectively.

This made me wonder about using isometrics beyond the original intent of strength training. Could isometrics help athletes develop motor skills and improve their rowing technique? Unfortunately, I couldn't find much information online. I bought a textbook on motor behavior. Nada. I didn't learn much after reaching out to physical therapists or trainers, either.

Searching a website that publishes academic papers led me to David Gabriel, Ph.D., a biomechanics professor at Brock University in Ontario. While Dr. Gabriel was not aware of research on isometrics and motor skills, either, he suggested, "You can use isometric contractions to 'imprint' specific body positions that you deem to be corrections to old or incorrect positions." He added, "Isometric training of those specific positions that you are training to engrain correct technique, is extremely valuable."

IMG_3008.jpeg

Encouraged, I performed some isometric training research of my own. I was both the researcher and the subject. In the format of the academic papers that I found during my online search, the findings are below:

Introduction: Determine if isometric training can help me improve my rowing technique, specifically to develop the skills required to clean up my finish while sculling.

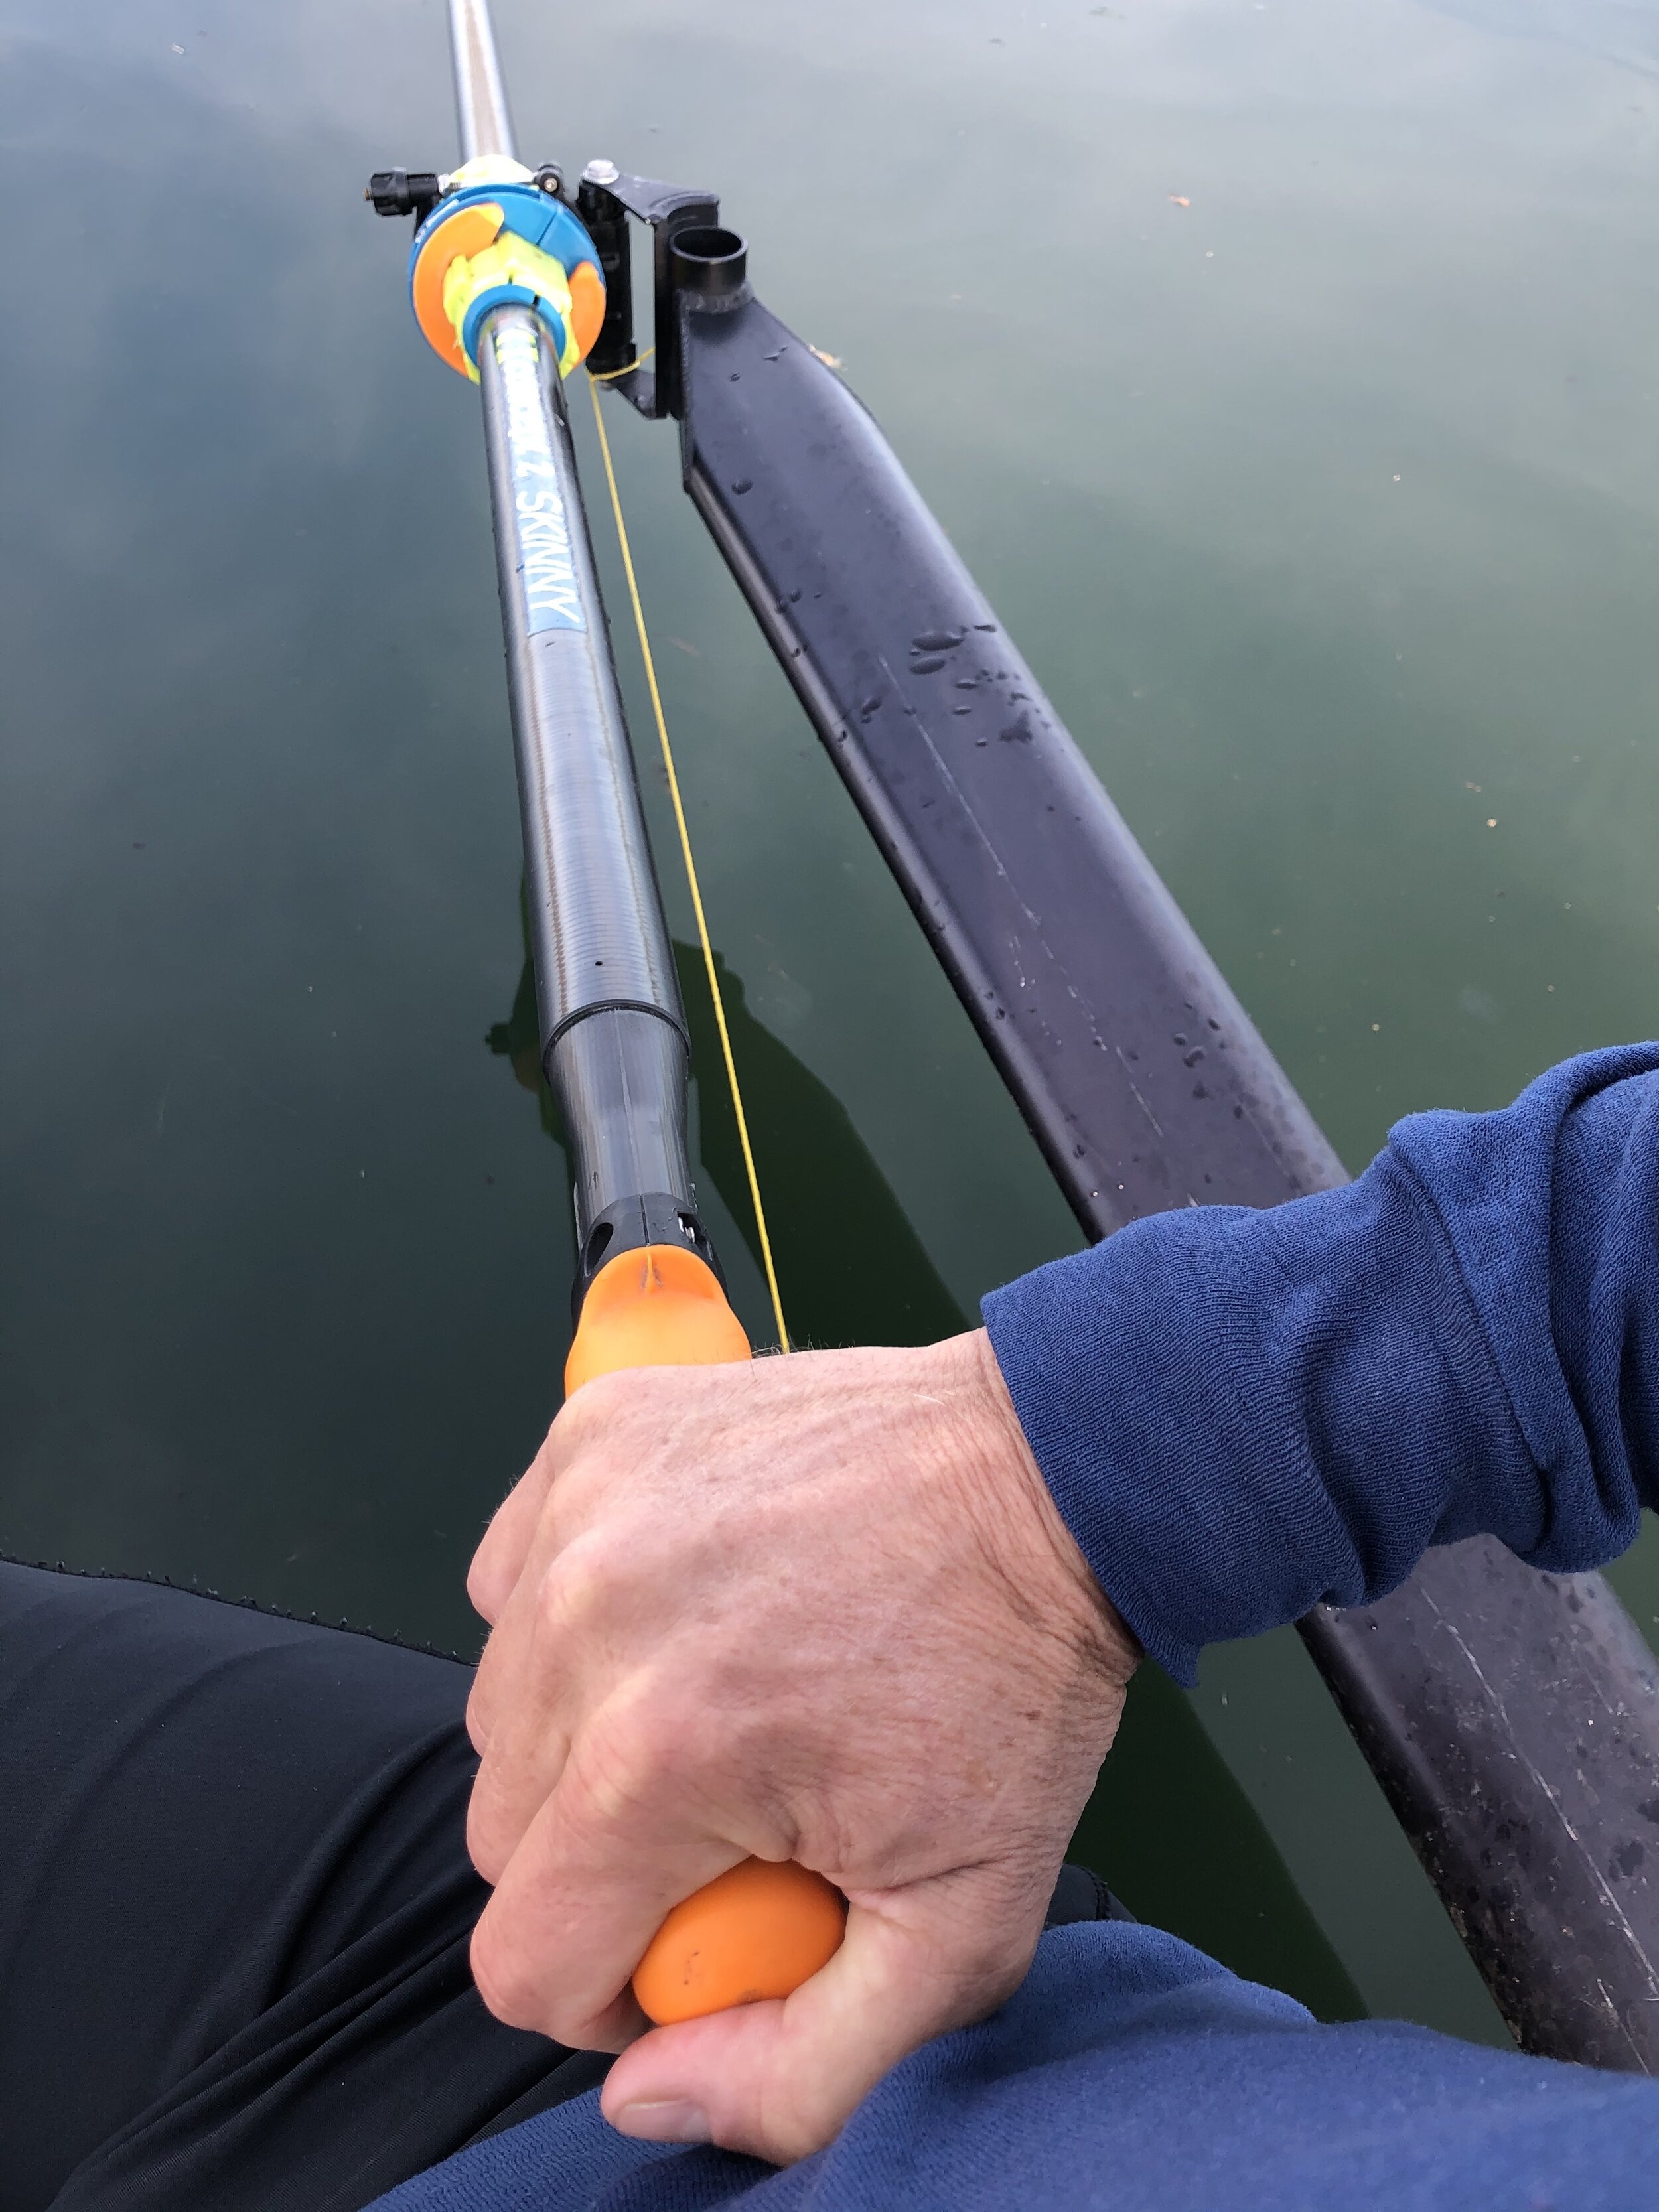
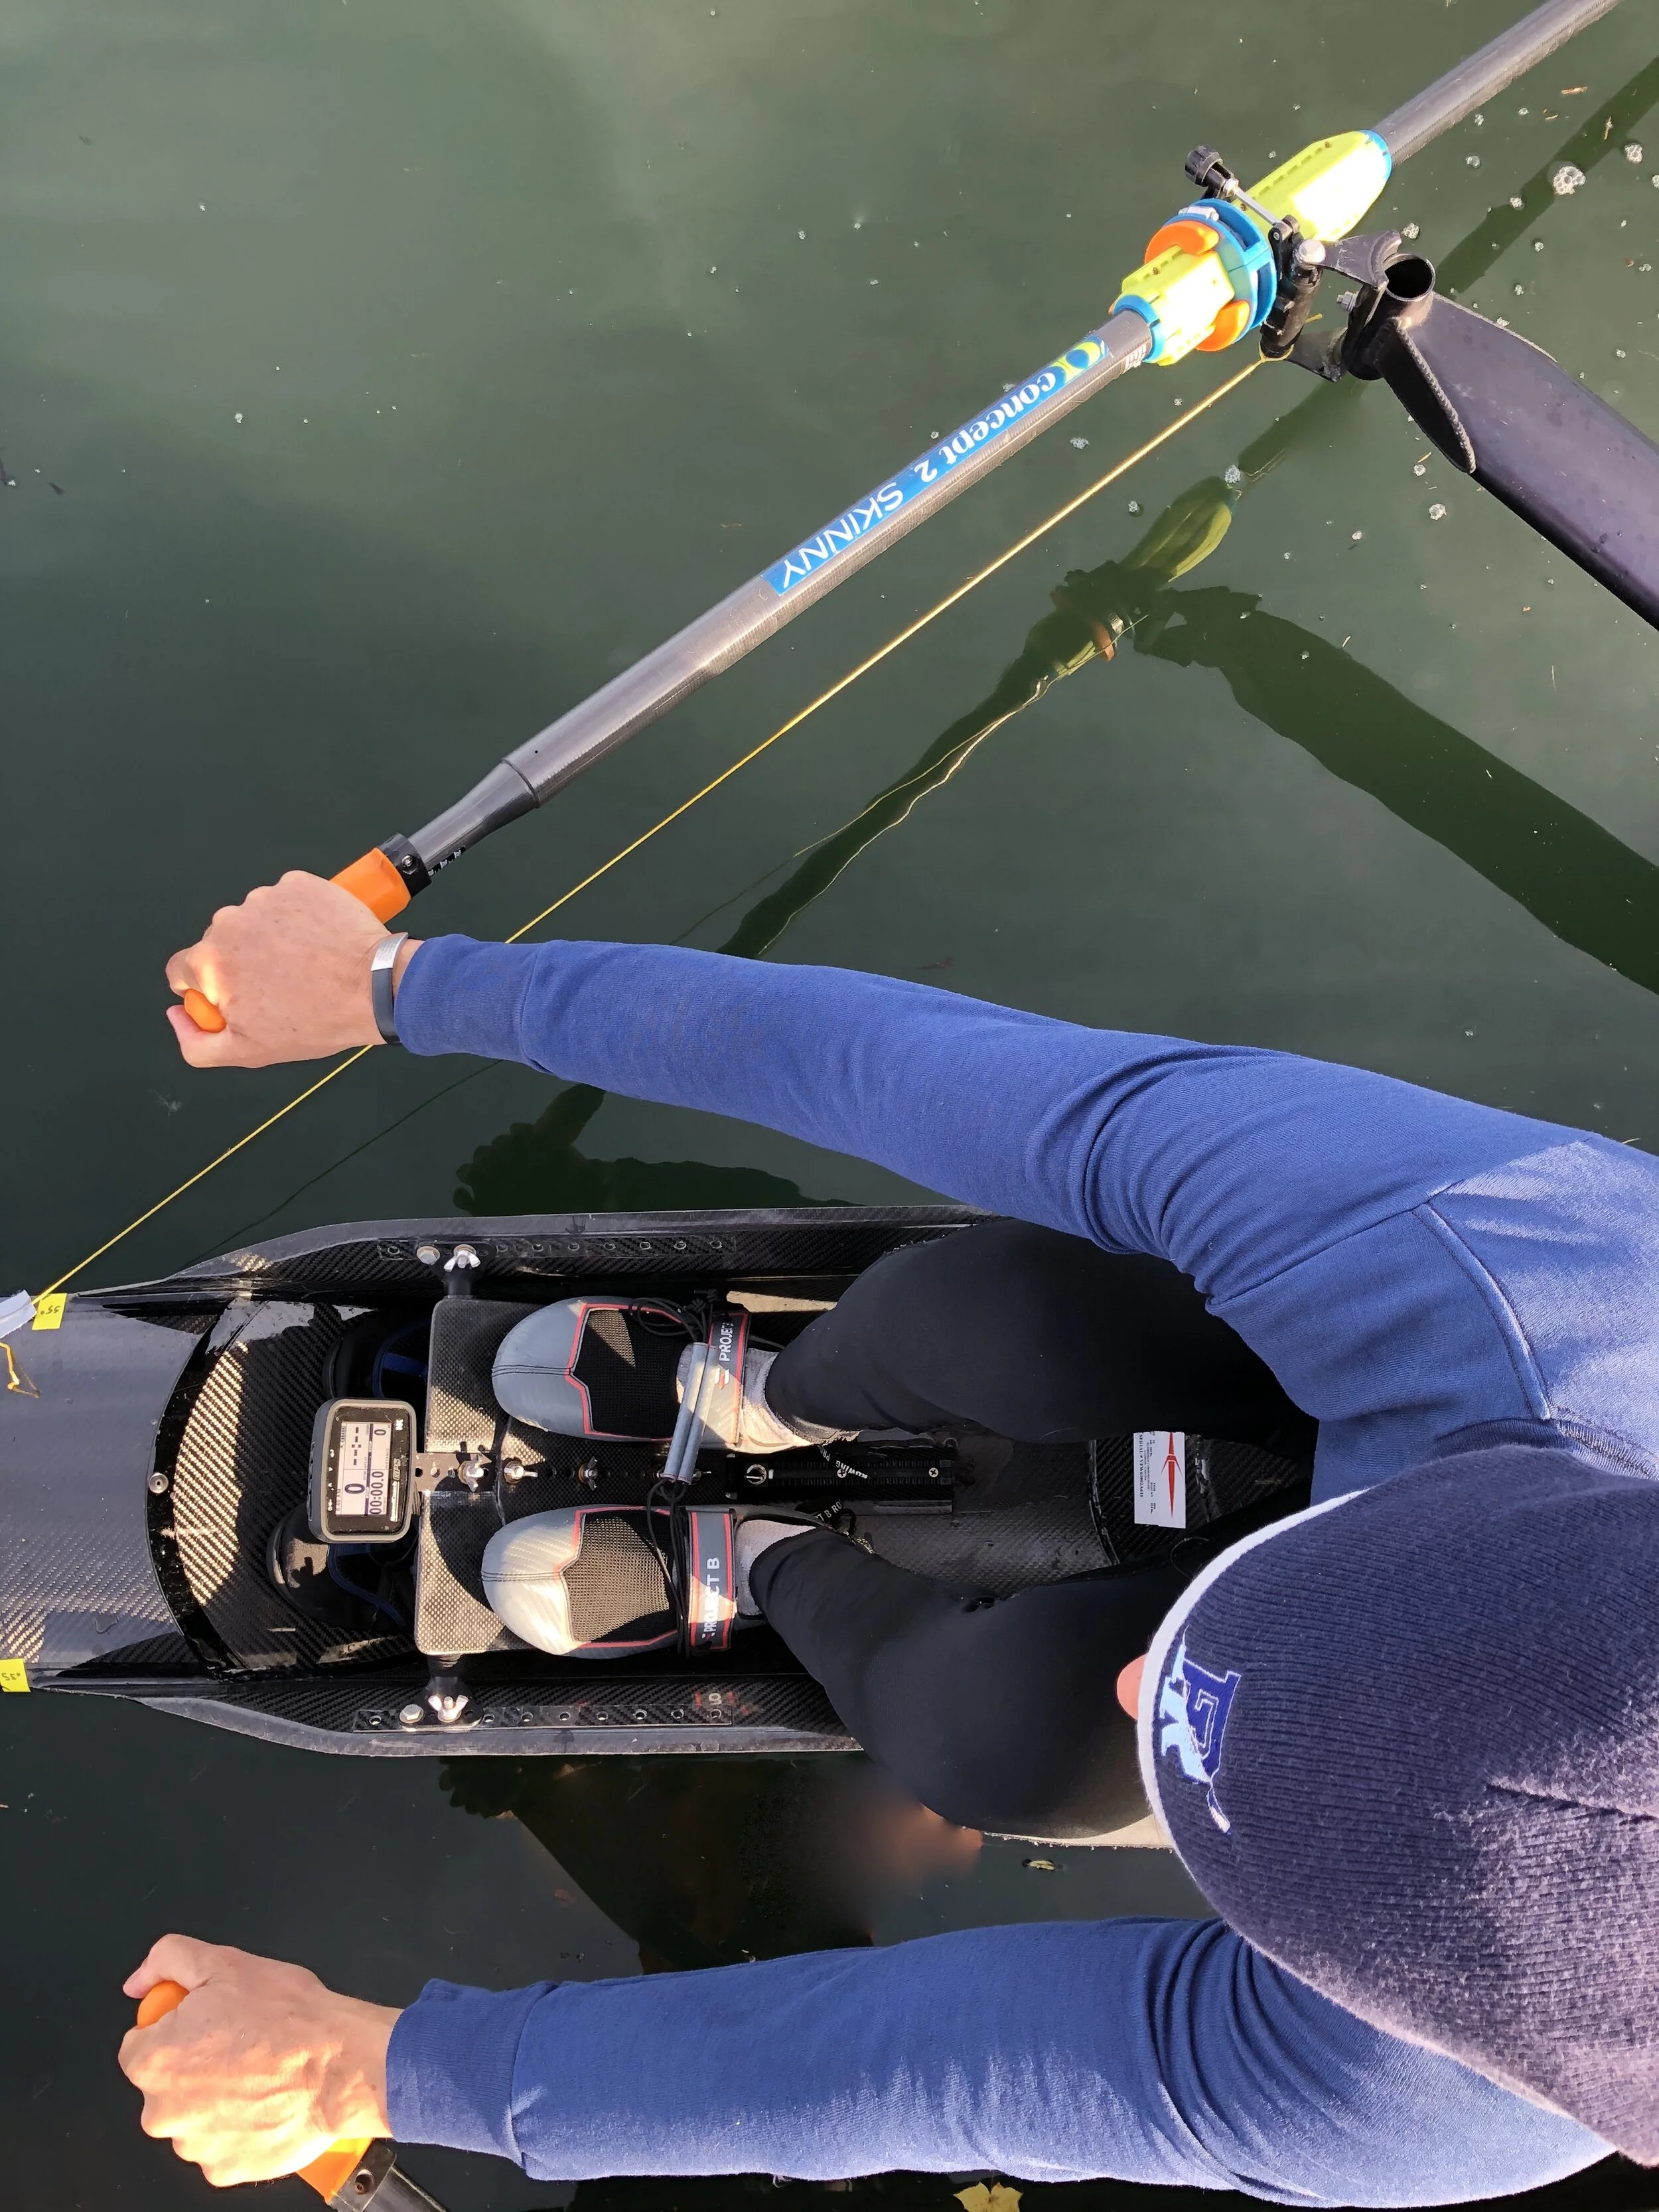
Methods: Using a home-made device and Concept 2 erg, I practiced tapping-down isometric exercises. For two weeks, I performed three isometric training sessions per week. Each session involved ten reps at 30 seconds on/off. All contractions were at maximum effort.

Results: The isometric exercises made the tapping-down motion seem familiar while on the water. I could better focus on using my triceps, lats, and scapular muscles to extract my blades from the water. The latter was new to me. I discovered this while consciously trying to relax my shoulders but still perform a maximum isometric contraction. I also discovered that the grip I used while sculling was too flexible. On the water, I held the oar handles in my fingers and had a slight bend in my wrists. During the isometric exercises, I realized that I re-positioned the oar handle (PVC tubing) under my knuckles to flatten my wrists and get more leverage during tapping-down reps.

Ideally, I could have done more than two weeks of isometric training. But the initial results were assuring.

Given Dr. Gabriel's feedback and my small research project, it appears that isometric training can improve rowing technique. Isometric exercises reduce complexity and allow athletes to increase their focus. The resulting increase in high-quality repetitions accelerate the motor skill development process, ultimately improving athletic control.

Coaches already simplify the rowing stroke by breaking it down into smaller parts. Rowers perform these parts repeatedly as drills, which allow them to focus on a specific motion.

Isometric training simplifies things even further, to a specific position. With laser focus, rowers can consciously activate the desired muscles used at a position. In turn, this strengthens the brain-body connection.

Isometric training could help with other areas of the rowing stroke, too. Static exercises could help develop skills such as raising the hands at the catch, applying power mid-drive, holding the body position at the finish, rocking the body over out of the finish, and more.

A Simple Way to Position Rowers at Catch and Finish Angles

John Thornell

by John Thornell, Grok Rowing Founder, Stonington Crew Girls Head Coach

5370BB9D-30B5-4034-915F-7F54AEEE730F_1_201_a.jpeg

Coaches who have marked catch and finish angles on gunwales for their crews might have encountered a bit of a challenge. Where, exactly, should rowers’ oars align with the markings to achieve the desired angles?

The gunwale-marking technique is a significant improvement over not measuring angles at all. But it isn’t an exact method. This is especially true in a narrow single when the finish-angle markings are out-of-sight, beneath the rower’s body.

A previous post recommended marking gunwales 3 cm to the stern of the marked angle. There’s a reason for this. Methods, including the angle measurement tool use an oarlock pin's center to set catch and finish angles. The issue is that the oar, when placed in the oarlock, is not positioned at the center of the pin. 

53A5F149-66A9-4E60-9A0D-3AD0E03B6DFC_1_201_a.jpeg

The oar is offset to stern by 1.5 cm in sweep rowing and 1.0 cm in sculling (the approximate distance from the center of the pin to the face of the oarlock). In addition, there are different oar-shaft widths and types of sleeves that can affect the measurements. 

Instead of anticipating all the different variations in oarlocks, sleeves, and oar shafts, we suggest a simple and affordable way to help crews achieve desired angles.

String! 

Yup, that’s it. Six feet of string is all it takes. Temporarily connect a brightly-colored line from the oarlock pin to the gunwale at the target catch and finish angle measurements. This provides a visual for the rower (and the coach). Rowers simply position themselves, so the oar shaft is parallel to the line at each end of the stroke. 

E0B7F2D4-B891-4F11-B137-8A9DD81B386E_1_201_a.jpeg

Once a rower’s position is set, the string can be removed. 

Of course, if the rigging changes, the angles need to be set again. If rowers move to another seat, the string method can help position themselves in their new home.

Catch and Finish Angles, Why and How to Set Them

John Thornell

by John Thornell, Grok Rowing Founder, Stonington Crew Girls Head Coach

White+Fillippi.jpg

In a recent USRowing webinar, Yale coach Steve Gladstone was asked a question about the first thing he identifies when looking at his crews. The legendary coach responded, “I make sure the catch angles are uniform. Then, I look to see when the blades release from the water. I want people to be in the water the same length of time.”

Why are catch and finish angles important?

Positioning athletes, so they can reach optimal catch and finish angles, will help them row comfortably and efficiently, and allow them to perform to their potential.

If the finish angle is too small and catch angle too large, a rower (positioned too far to stern, in this example) may have difficulty getting their blade out of the water at the finish. They may also feel like the load is too heavy at the catch. This may be difficult for some rowers and could even lead to injury.

According to long-time Canadian coach and now coach developer, Mike Purcer, the catch and finish angles also affect blade efficiency in the water, in the form of blade slip. “The best catch and finish angle will maximize the effective stroke length and minimize slippage,” says Purcer. “A 15 cm positive blade slip in sculling and a 20 cm negative blade slip in sweep rowing are generally acceptable.” Blade slip can be determined by a simple video analysis.

For crews, all athletes should have similar catch angles and similar finish angles. Purcer adds, “Ideally, the same percentage of catch to finish angles will ensure oars reach the perpendicular together.” This helps athletes match one another and have the same peak power application during the stroke.

Think of the catch and finish angles as margins. If a rower goes outside the margins, move their foot stretchers to bow or stern to position them between the optimal angles. (Span/spread can also be used, but this is a topic for another day).

Recommended catch and finish angles vary by crew size, boat class, span/spread, gearing, and other factors. Generally, it’s accepted that the stroke arc in sweep rowing should be 90° (catch angle of 57°, finish angle of 33°, for example). In sculling, the arc is closer to 110° (catch angle of 65°, finish angle of 45°). Several resources are available online and in print that can be a good starting point.

How do you set catch and finish angles?

Measuring these angles can be a little tricky. Many coaches don’t even try. Others have drawn angles on foam board then tried to position it perpendicular to the hull. Some have measured set distances from the pin to a centerline based on trigonometry tables. Monitoring tools mounted to oarlocks are relatively new but can get expensive.

Almost out of necessity, we created a simple, affordable angle measurement tool. Just loop a rigger line on the oarlock pin and pull it across the protractor-like face of the tool to the desired angle. Then, mark the catch and finish angles on the gunwale.

The markings (often brightly colored tape) help coaches determine if athletes are reaching the angles or not. The oar shaft should be positioned directly over the markings at each end of the stroke. Be sure to affix the tape to the stern of the desired angle to account for the offset between the pin to the center of the oar shaft. This can be about 3 cm in both sculling and sweep rowing.

Recording a video for slow-motion playback can help coaches see the position of oars over the markings. If you’re lucky, you may have a bridge from which you can record overhead footage. If you’re really lucky, you can get an overhead video with a drone!

Angles aren’t absolutes!

What works for a national team crew may not work for your program. Recommended angles are a starting point and should be adjusted to the size and speed of your crews. Experiment to determine the optimal angles for your rowers. Which position are they most comfortable? Which position do they match one another? Which position enables them to row to their potential?

When Life Gives You a Lockdown, Make Lemonade!

John Thornell

by John Thornell, Grok Rowing Founder, Stonington Crew Girls Head Coach

IMG_0549.PNG

With COVID-19 precautions keeping us off the water, rowers are spending more time on the erg.

They’re training on their own. They’re participating in virtual races and online challenges. And they’re doing a lot of it! Concept 2 has “seen a big uptick in both national and world records!” An infographic posted on the company’s Instagram account shows world records this year from March 15 to April 15 more than doubling over the same period in 2019 and quadrupling over 2018.

Obviously, the extended indoor rowing season has improved rower fitness. But, it’s also a terrific time to work on technique.

Training alone allows athletes to concentrate on themselves. There are no distractions (like a neighbor’s erg monitor). Training at home, rowers are free to focus on making changes, monitoring their progress, and improving technique. Video analysis and training aids can help identify and make those improvements.

  • Video Analysis: Rowers often erg in front of a mirror. But, it’s a little difficult to see the finer points of the stroke, while rowing. If possible, athletes can shoot video with a smartphone and review it after erging. Of course, video can also be shared with coaches. And apps like Dartfish provide tools that help coaches and rowers create a detailed video analysis and gain valuable feedback.

  • Training Aids: Once improvement areas are identified, training aids can help athletes make the necessary changes. By providing visual and tactile feedback, training aids help to build muscle memory and accelerate the athlete’s development. Video can also be used to ensure aids are positioned properly.

When life gives you a lockdown, make lemonade! Eventually, we will get on the water. And when we do, athletes can be better prepared, physically and technically.


Hanging on the Oar, When You're off the Water

John Thornell

by John Thornell, Grok Rowing Founder, Stonington Crew Girls Head Coach

Hang+on+Oar+Blog+Post.jpg

Interestingly, a great way to teach rowers to “hang on the oar” does not involve an oar at all.

Of course, we’ve done body suspension drills on the water. A team favorite is to gently row backward, turn the catch, and stand on the stretchers to see which rower can suspend their body the longest. Whether by fours or eights, it burns a bit of time to set up each drill. And rowers only do the exercise for a moment. We also tried drills on land but found there are also limitations. Coaches can’t hold the erg handle (or a strap connected to the handle) for every rower.

We wanted to get rowers to hang on the oar with more repetition. We needed to find a way for rowers do the exercise independently.

So, we created a suspension strap that attaches to the Concept 2 erg. Now, rowers can practice body suspension on their own, several times per week. Coaches can supervise but are not required to perform the exercise. Several rowers can practice at the same time.

As they arrive at the erg room, rowers “hang out” during their warm-up. We also incorporate the suspension exercise as a circuit station, for example:

  • 3 x 1 min, 1 min rest

  • Timed 250 reps

  • 6 x 20 reps, 30 seconds rest

Initially, rowers were not used to the isometric exercise. So, we gradually increased reps and sets.

To mimic the position in a boat, we have rowers lift themselves just a couple of inches off the seat. (Nobody stands up while rowing). Just like any exercise, athletes must maintain control. There’s no bouncing up and down off the seat!

Athletes learn quickly. They learn to use core and back muscles required to maintain connection while they lift their body with their legs. They learn to relax the upper body and hang their body weight off the erg handle. Best of all… when they are on the water, hanging on the oar is second nature.

Hand Height Guide Installation Hack

John Thornell

by John Thornell, Grok Rowing Founder, Stonington Crew Girls Head Coach

fullsizeoutput_aab0.jpg

On newer ergs, the chain guide can be a tight fit. This may make it challenging to insert the hand height guides. Here’s a simple hack that can make things go smoothly.

Wrap the left and right hand height guides around the chain guide. Align the holes. Wrap electrical tape around the end of each hand height guide. This will hold the hand height guide in place when it’s inserted into the erg chassis.

Once the erg hardware is replaced, peel off the electrical tape that’s visible on the inside. With the other hand, push the chain guide away from the chassis to make it easier to pull the rest of the electrical tape off the hand height guide.